Home - News > Industry NewsIndustry News
Qualified standard parameters for flaw detection of large-diameter steel pipes
Update:2023-07-21 View(s):1056 Keywords :Qualified standard parameters for flaw detection of large-diameter steel pipes
In the production of
large-diameter steel pipes, single circular inclusions and pores with a weld diameter not exceeding 3.0mm or T/3 (T is the specified wall thickness of the steel pipe) are qualified, whichever is smaller. In any 150mm or 12T length weld range (whichever is smaller), when the interval between single inclusions and air holes is less than 4T, the sum of the diameters of all the above-mentioned imperfections allowed to exist alone should not exceed 6.0mm or 0.5T (whichever is smaller). A single bar-shaped inclusion with a length of no more than 12.0mm or T (whichever is smaller) and a single bar-shaped inclusion with a width of no more than 1.5mm is qualified. In any 150mm or 12T length weld range (whichever is smaller), when the interval between individual inclusions is less than 4T, the maximum cumulative length of all the above-mentioned flaws that are allowed to exist alone should not exceed 12.0mm. A single undercut of any length with a maximum depth of 0.4mm is acceptable. A single undercut with a maximum length of T/2, a maximum depth of 0.5mm, and no more than 10% of the specified wall thickness is qualified as long as there are no more than two places within any 300mm weld length. All such undercuts shall be ground. Any undercut beyond the above range shall be repaired, the problematic part shall be cut off or the whole pipe shall be rejected. Undercuts of any length and depth that overlap each other longitudinally on the same side of the inner and outer welds are disqualifying.
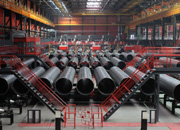 Threeway Steel is known as a professional supplier engaged in manufacturing and distributing a wide range of steel pipe, and our headquarter located the central part of China – Hunan and six associated factories throughout China.
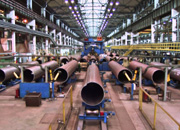 Threeway Steel is known as a professional supplier engaged in designing, manufacturing and distribution of a wide range of steel products with the headquarter located the central part of China – Hunan and six associated factories throughout China.
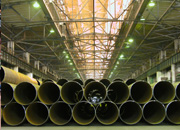 Threeway Steel is known as a professional supplier engaged in designing, manufacturing and distribution of a wide range of steel products with the headquarter located the central part of China – Hunan and six associated factories throughout China.
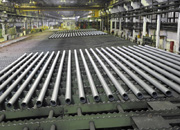 Threeway Steel is known as a professional supplier engaged in designing, manufacturing and distribution of a wide range of steel products with the headquarter located the central part of China – Hunan and six associated factories throughout China.
 Threeway Steel is known as a professional supplier engaged in designing, manufacturing and distribution of a wide range of steel products with the headquarter located the central part of China – Hunan and six associated factories throughout China.

